Bench answer
The reliable starting point
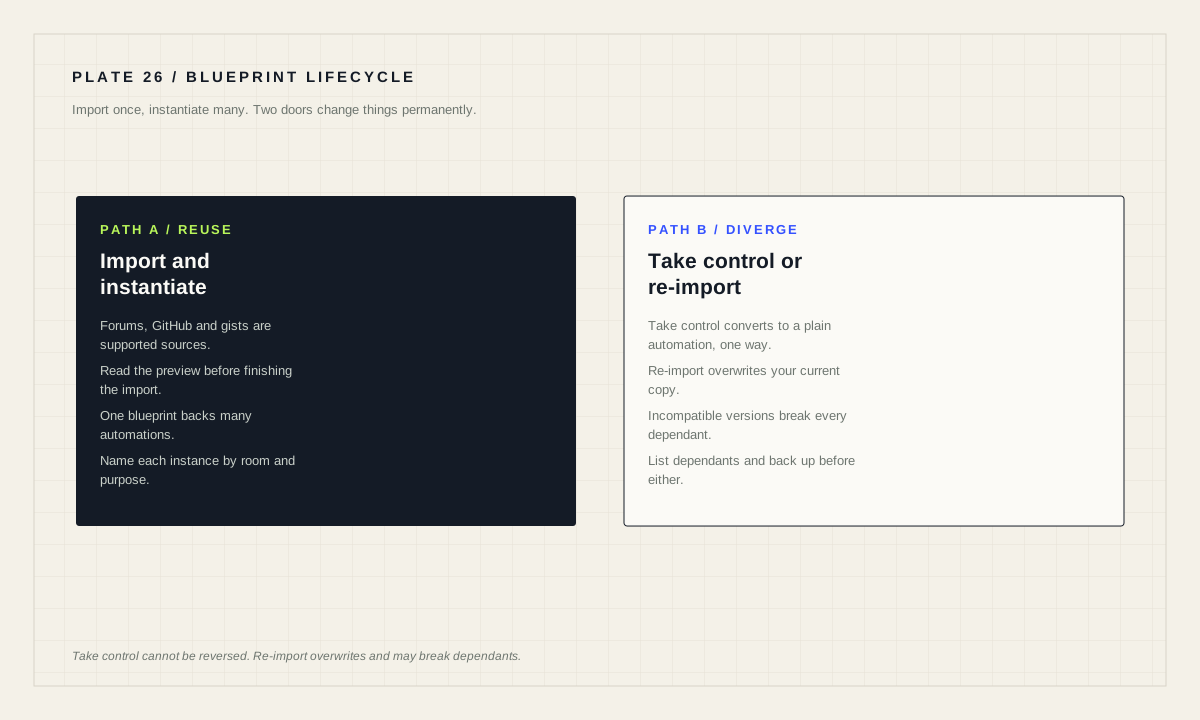
Import a blueprint from Settings → Automations & scenes → Blueprints with Import Blueprint and a URL from the forums, GitHub or a gist. Create as many automations from it as you like, each with its own devices and settings. If you need to change the logic itself, use Take control — but know that this converts the blueprint automation into a regular automation and cannot be converted back. Re-importing overwrites your current copy and can break automations if the new version is incompatible.
What a blueprint actually is
A blueprint is a script, automation or template entity configuration with certain parts marked as configurable. That single sentence explains both the appeal and the constraint: the structure is fixed by its author, and you supply the inputs.
The documentation describes them as ready-made automations shared by the Home Assistant community — someone else has already done the thinking and the writing, and you plug in your own devices. You install a blueprint once and can use it as many times as you like, with different devices and settings each time, and no YAML is required.
That reuse property is the real value. Six motion-lighting automations built from one blueprint behave identically and are fixed in one place. Six hand-written ones drift apart within a month.
Importing, and where blueprints come from
Home Assistant can import blueprints from the Home Assistant forums, GitHub, and GitHub gists. Go to Settings → Automations & scenes → Blueprints, select Import Blueprint in the bottom right, paste the URL and select Preview. The blueprint loads and shows a preview in the import dialog, where you can change the name and finish the import.
Read that preview rather than clicking through it. A blueprint is executable configuration written by a stranger, and the preview is the one moment it is easy to see what it will do. Look at what entities it wants, what it will control, and whether any action is consequential — locks, garage doors, heating, water.
The community forums have a specific tag collecting blueprints, which is the intended discovery route. For practising the import flow itself, the documentation offers the motion-light blueprint from the Home Assistant core repository as a safe example.
One blueprint, many automations
To create an automation from a blueprint, go to Settings → Automations & scenes → Blueprints, find the blueprint and select Create automation. That opens the automation editor with the blueprint selected. Give it a name, configure the inputs, and save. What needs configuring differs by blueprint. To revisit the configuration values later, return to the same Blueprints page.
Name instances so that the room and purpose are obvious — “Motion light — upstairs landing” rather than “Motion light 3”. When six automations share one blueprint, the name is the only thing distinguishing them in a list, a trace or a notification.
If blueprint-based automations do not appear in the interface at all, the documented cause is a missing include: make sure automation: !include automations.yaml from the default configuration is present in configuration.yaml.
Take control is a one-way door
Sometimes a blueprint is nearly right. Take control converts the blueprint automation into a regular automation so you can make any tweak without reinventing the wheel. Select the blueprint from the list, choose Take control, and a preview of the resulting automation is shown before you confirm.
The documentation states the consequence plainly: by taking control, the blueprint is converted into an automation, and you will not be able to convert this back into a blueprint. From that point you own the logic, you no longer receive the author's improvements, and any future fix is yours to make.
That is often the right trade — but make it deliberately. If your change is a value, use an input instead. If your change is behaviour the blueprint does not expose, taking control is correct. Note it somewhere, because six months later the automation will look hand-written and nobody will remember where it came from.
Re-importing overwrites, and can break things
Community blueprints go through revisions: someone publishes one, the community gives feedback, functionality is added. The quickest way to get those changes is to re-import, using the three dots menu on the blueprint and selecting Re-import blueprint.
The documentation attaches an explicit caution: this overwrites the blueprint you currently have, and if the re-imported version is not compatible, it can break your automations — in which case you will need to adjust them manually. Because one blueprint may back several automations, an incompatible update is not a single-automation problem.
The alternative is to edit the YAML yourself. Go to the blueprints directory blueprints/automation/ — its location depends on installation type, similar to finding configuration.yaml — locate the file by the creator's username and the YAML file name, edit it, then reload automations for the changes to take effect. The new changes appear in existing automations as well.
# Before re-importing, record what depends on this blueprint.

Blueprint          : motion_light (author/source)
Imported on        : 2026-07-28
Automations using it:
  - Motion light — upstairs landing
  - Motion light — garage
  - Motion light — pantry
Backup taken       : yes
Rollback plan : restore backup, or re-edit YAML in blueprints/automation/When not to use a blueprint
Blueprints are weakest where your requirement is genuinely specific. If you find yourself hunting for a blueprint that has exactly your five conditions, writing the automation directly is faster and far easier to debug — and it will still be legible in a year.
They are also a poor fit for anything consequential that you have not read line by line. Webhook guidance in the trigger documentation makes a related point worth generalising: do not copy-and-paste webhook IDs from public sources, including blueprints, and always create your own. Treat any secret, ID or endpoint arriving inside shared configuration as something to replace rather than inherit.
Where a blueprint is used, traces remain available and gain an extra tab: Blueprint Config appears in the trace view when the automation was created from a blueprint. That is the fastest way to see which inputs the run actually used, as opposed to which inputs you believe you set.
Blueprint hygiene
- Preview read before finishing the import, especially for consequential actions.
- Instances named by room and purpose.
- Any IDs or secrets in shared configuration replaced with your own.
- Take control used only for behaviour changes, and recorded.
- Dependent automations listed before any re-import.
- Backup taken before take control or re-import.
- Blueprint Config tab checked in a trace when behaviour surprises you.
Source desk
Primary documentation used for this guide. Interface names and behaviors can change; confirm the current page before changing a live installation.
- Using automation blueprintsOfficial import, creation, take control and re-import behaviour.Official source ↗
- BlueprintsOfficial blueprint definition and schema reference.Official source ↗
- Testing and troubleshooting automationsOfficial trace tabs including Blueprint Config.Official source ↗
Source review completed .
Frequent questions
Where can Home Assistant import blueprints from?
Home Assistant can import blueprints from the Home Assistant forums, GitHub, and GitHub gists, using Import Blueprint under Settings > Automations & scenes > Blueprints.
Can I convert an automation back into a blueprint after taking control?
No. The documentation states that by taking control the blueprint is converted into an automation and you will not be able to convert this back into a blueprint.
What happens when I re-import a blueprint?
Re-importing overwrites the blueprint you currently have. If the new version is not compatible it can break your automations, and you will need to adjust them manually.
Why do my blueprint automations not show up?
Make sure automation: !include automations.yaml from the default configuration is present in your configuration.yaml file.
How do I see which blueprint inputs a run used?
Open the automation trace. When an automation was created from a blueprint, a Blueprint Config tab is shown alongside Step Details, Automation Config and Trace Timeline.